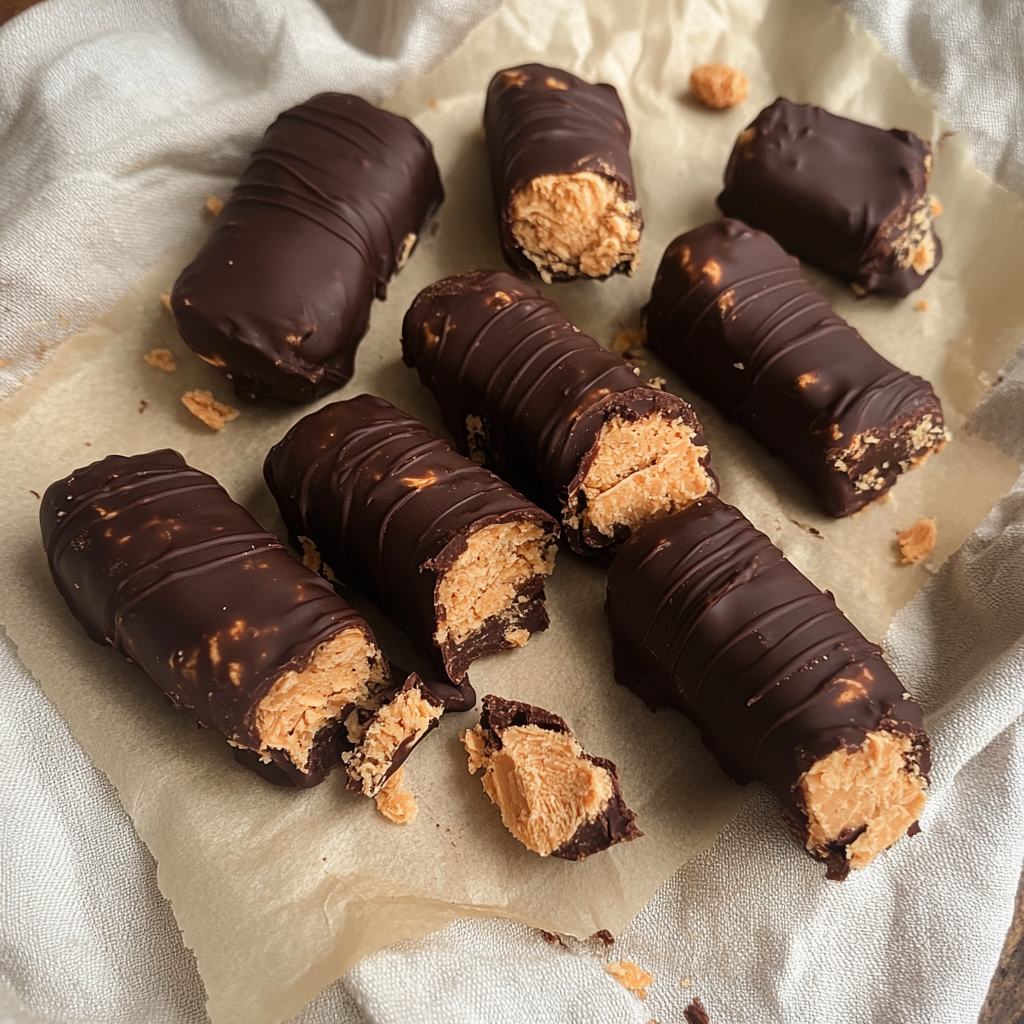
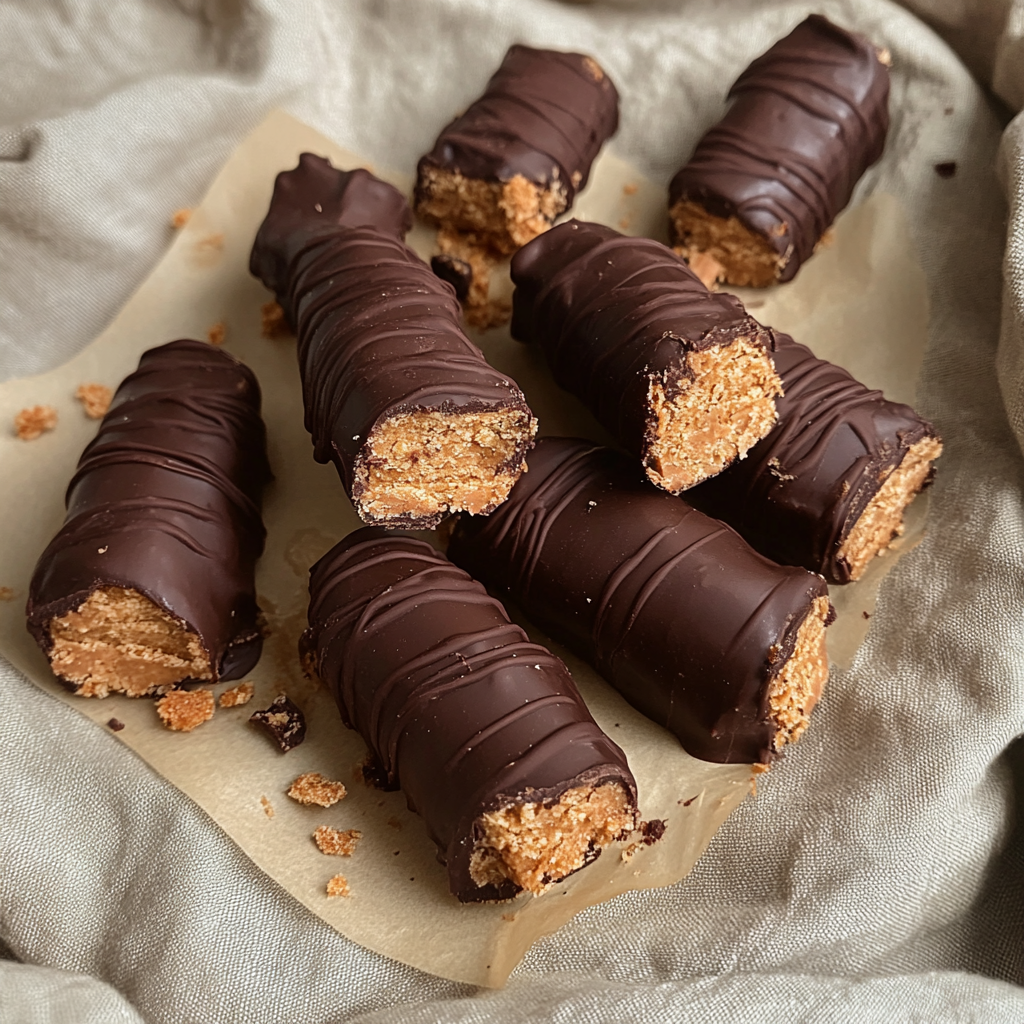
Healthy Homemade Butterfingers
Healthy homemade butterfingers are a delightful and nutritious twist on the classic candy bar, perfect for satisfying your sweet tooth. These treats are not only easy to make but also feature wholesome ingredients that can be enjoyed by everyone. Whether you’re looking for a quick snack or a fun dessert for gatherings, these Healthy Homemade Butterfingers will surely impress with their rich flavors and crunchy texture.
Why You’ll Love This Recipe
- Quick and Simple: This recipe comes together in just over an hour, making it a perfect choice for last-minute treat cravings.
- Wholesome Ingredients: Made with peanut butter, honey, and cornflakes, these butterfingers are both delicious and packed with nutrition.
- Dairy-Free Option: You can easily make these treats dairy-free by using dairy-free chocolate chips, ensuring everyone can enjoy them.
- Versatile Treat: Perfect for parties, lunchboxes, or as a guilt-free snack at home.
- Customizable: Feel free to tweak the recipe with different nut butters or cereals to suit your taste!
Tools and Preparation
Having the right tools makes preparing your Healthy Homemade Butterfingers easy and enjoyable. Below is a list of essential tools you will need.
Essential Tools and Equipment
- Medium saucepan
- Mixing bowl
- Parchment paper
- Baking sheet
- Microwave-safe bowl or double boiler
Importance of Each Tool
- Medium saucepan: Ideal for melting the peanut butter mixture smoothly without burning.
- Mixing bowl: Allows for easy combining of ingredients while ensuring everything is well-mixed.
- Parchment paper: Prevents sticking during freezing and simplifies cleanup.
Ingredients
For the Butterfinger Filling
- 1 cup peanut butter
- 1/3 cup honey
- 1/2 tsp vanilla extract
- 1/2 tsp sea salt
- 1 + 3/4 cup cornflake cereal
For the Chocolate Coating
- 1 cup chocolate chips (dairy free, if needed)
- 1 tsp coconut oil
How to Make Healthy Homemade Butterfingers
Step 1: Prepare the Peanut Butter Mixture
In a medium saucepan over medium-low heat, combine the peanut butter, honey, vanilla extract, and sea salt. Heat for 2-4 minutes until the mixture is smooth and well-blended.
Step 2: Combine with Cereal
Transfer the heated peanut butter mixture into a large mixing bowl. Add in the cornflake cereal. Stir until everything is well-combined, gently crushing some of the cereal so that all pieces get coated.
Step 3: Form Logs and Freeze
Shape the mixture into logs; this should yield about 12-14 logs. Place each log onto a parchment-lined plate or baking sheet. Freeze them for 1 hour to set.
Step 4: Melt Chocolate Coating
After freezing, melt the chocolate chips along with coconut oil. You can do this in a microwave-safe bowl or over a double boiler. Be cautious not to scorch the chocolate.
Step 5: Dip Logs in Chocolate
Once melted, dip each frozen butterfinger log into the chocolate coating, allowing any excess chocolate to drip off. Return them to the lined plate and freeze until the chocolate sets—about 10 minutes.
Now you have delicious Healthy Homemade Butterfingers! Store any leftovers in your refrigerator or freezer for later enjoyment.
How to Serve Healthy Homemade Butterfingers
Healthy homemade butterfingers are a delightful treat that can be enjoyed in various ways. Whether you want to serve them at a party or enjoy them as a snack, these options will elevate your experience.
With Fresh Fruit
- Banana Slices: Pairing butterfingers with fresh banana slices adds a creamy texture and natural sweetness.
- Apple Wedges: The crispness of apple wedges complements the rich chocolate and peanut butter flavors perfectly.
As a Party Platter
- Chocolate Dipped Strawberries: Present your butterfingers alongside chocolate-dipped strawberries for an elegant touch.
- Nut Assortment: Include an assortment of nuts like almonds and walnuts to provide a crunchy contrast.
With Dips
- Peanut Butter Dip: Serve extra peanut butter for dipping, enhancing that delicious nutty flavor.
- Yogurt Dip: A light yogurt dip can add creaminess and balance the sweetness of the butterfingers.
How to Perfect Healthy Homemade Butterfingers
Creating the perfect healthy homemade butterfingers is simple with these tips. Follow these suggestions to ensure your treats come out delicious every time.
- Use Natural Peanut Butter: Opt for natural peanut butter without added sugars or oils for a healthier option.
- Adjust Sweetness: If you prefer less sweetness, reduce the honey slightly or replace it with maple syrup for a different flavor.
- Crush Cornflakes Well: Crushing the cornflakes helps them stick better to the mixture, ensuring each bite is full of flavor.
- Melt Chocolate Carefully: When melting chocolate, do it slowly in short intervals to avoid scorching and maintain smoothness.
- Let Them Chill Properly: Allow enough time for the logs to freeze before dipping in chocolate; this helps maintain their shape.
Best Side Dishes for Healthy Homemade Butterfingers
Serving side dishes alongside your healthy homemade butterfingers can enhance your overall snack experience. Here are some great options to consider.
- Fresh Berries: A mix of blueberries, strawberries, and raspberries adds freshness and acidity that pairs well with sweet treats.
- Carrot Sticks: Crunchy carrot sticks provide a healthy crunch that balances the richness of the butterfingers.
- Celery Sticks with Hummus: This combo offers a satisfying texture contrast while adding protein and fiber.
- Trail Mix: A mix of nuts, seeds, and dried fruits complements the flavors of the butterfingers while providing extra nutrients.
- Rice Cakes: Light and airy rice cakes can serve as a base for spreading extra peanut butter or other toppings.
- Coconut Chips: Crispy coconut chips add tropical flair and crunch that pairs nicely with chocolate treats.
Common Mistakes to Avoid
Making Healthy Homemade Butterfingers can be a fun and rewarding experience. However, a few common mistakes can hinder your results.
- Boldly mismeasuring ingredients: Accurate measurements are crucial. Use proper measuring cups for liquids and solids to ensure the right texture.
- Ignoring the freezing step: Freezing helps the mixture set properly. Don’t skip this step, as it allows for easier dipping in chocolate.
- Overheating chocolate: Chocolate can scorch quickly. Heat it gently and stir frequently to prevent burning.
- Not allowing excess chocolate to drip off: This helps avoid a thick layer of chocolate that can overshadow the peanut butter flavor. Be sure to let the excess chocolate drip back into the bowl before placing them back on the tray.
- Using non-dairy chocolate without checking labels: Some brands may contain dairy or other unwanted ingredients. Always read labels to ensure they meet your dietary needs.
Storage & Reheating Instructions
Refrigerator Storage
- Store Healthy Homemade Butterfingers in an airtight container.
- They will stay fresh for up to 1 week.
Freezing Healthy Homemade Butterfingers
- Place them in a freezer-safe container or bag, separating layers with parchment paper.
- They can be frozen for up to 3 months.
Reheating Healthy Homemade Butterfingers
- Oven: Preheat to 350°F (175°C), place on a baking sheet for about 5-10 minutes until slightly softened.
- Microwave: Heat on low power for 10-15 seconds at a time until warm.
- Stovetop: Place over low heat in a pan, covering briefly to warm through without melting.
Frequently Asked Questions
How do I make Healthy Homemade Butterfingers vegan?
You can use maple syrup instead of honey and ensure that your chocolate chips are dairy-free.
Can I use other nut butters?
Yes! Almond butter or sunflower seed butter are great alternatives if you want a different flavor profile.
What’s the best way to customize Healthy Homemade Butterfingers?
Consider adding ingredients like chopped nuts, shredded coconut, or dried fruit to enhance texture and flavor.
How long do Healthy Homemade Butterfingers last?
They last up to one week in the refrigerator and three months in the freezer when stored properly.
Final Thoughts
Healthy Homemade Butterfingers are not only delicious but also versatile. You can easily customize them with your favorite nut butters or toppings. Enjoy experimenting with this simple recipe that satisfies your sweet tooth while keeping it healthy!
Healthy Homemade Butterfingers

Indulge in the delightful taste of Healthy Homemade Butterfingers, a nutritious twist on the beloved candy bar that satisfies your sweet cravings without the guilt. This easy-to-make treat combines creamy peanut butter with honey and crunchy cornflakes, all enveloped in a rich chocolate coating. Perfect for parties, lunchboxes, or a quick snack at home, these homemade candy bars are as delicious as they are wholesome. Customize them with your favorite nut butters or cereals to create a unique dessert tailored to your tastes. Whether you’re enjoying them during a movie night or serving them at gatherings, these Healthy Homemade Butterfingers are sure to impress everyone!
- Prep Time: 15 minutes
- Cook Time: 5 minutes
- Total Time: 20 minutes
- Yield: Approximately 12 servings 1x
- Category: Dessert
- Method: No-bake
- Cuisine: American
Ingredients
- 1 cup peanut butter
- 1/3 cup honey
- 1/2 tsp vanilla extract
- 1/2 tsp sea salt
- 1 + 3/4 cup cornflake cereal
- 1 cup dairy-free chocolate chips
- 1 tsp coconut oil
Instructions
- In a medium saucepan over medium-low heat, combine peanut butter, honey, vanilla extract, and sea salt. Heat for 2-4 minutes until smooth.
- Transfer the mixture to a mixing bowl and stir in cornflake cereal until well combined.
- Form the mixture into logs (about 12-14 logs) and place on a parchment-lined baking sheet. Freeze for 1 hour.
- Melt chocolate chips with coconut oil in a microwave-safe bowl or double boiler, stirring until smooth.
- Dip each frozen log into the melted chocolate and return to the lined plate. Freeze again for about 10 minutes until set.
Nutrition
- Serving Size: 1 serving
- Calories: 130
- Sugar: 8g
- Sodium: 80mg
- Fat: 7g
- Saturated Fat: 2g
- Unsaturated Fat: 5g
- Trans Fat: 0g
- Carbohydrates: 12g
- Fiber: 2g
- Protein: 4g
- Cholesterol: 0mg